The main purpose of boots is to protect your feet, provide you the comfort needed for long walks and to secure the much-needed stability when you’re hiking rough terrain.
There are several causes for heel slippage, but they are mostly caused by some aspect of the boots.
Having trouble walking is just one of the many problems that boot slippage can cause.
If you had or you are having that problem right now, check these helpful tips on how to fix heel slippage in boots.
More...
What is Heel Slipping?
Just to make sure we are on the same subject, the heel slipping is slipping off your foot out of the boots while walking.
It’s a common occurrence when the boots are still brand new, and it should go away after breaking the boots.
New shoes don’t flex the same as your foot from the start, but if the slippage continues even after the break-in period than it’s time to give this problem a proper approach.
It seems like just a minor discomfort, and it can be just that if you weren’t walking in the outdoors on all kinds of tough terrain.
Leaving it untreated can cause you to fall and hurt yourself pretty bad.
How to Prevent Heel Slippage in Boots

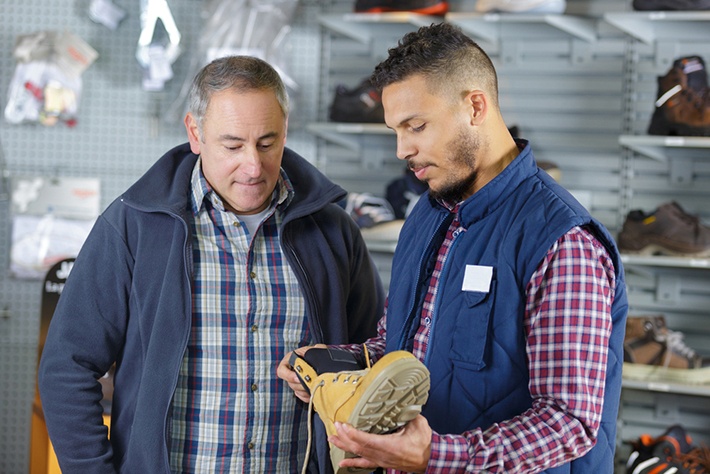
Well, the best possible prevention is to carefully choose the boots before you buy them. There are a lot of designs and variations, and not all perform the same.
Check the internet for people’s reaction to them and what kind of experience did they have.
If the overall impression about the boots is good, then the next most important thing to do is to choose the right size.
Buying bigger size is obviously going to create slippage, but buying smaller size can result in serious discomfort and foot cramps.
1. Choose the Right Size of the Boots
The best way to determine the right size is to check the length of the insoles of the boots; it has to be somewhere in the description. Then measure your feet and compare the size.
Also, do the measuring around noon, because the feet are at their largest at that time.
After you have taken all these steps, the boots are broken in, and you still experience heel slippage, then try some of the tricks below.
2. Lock Your Laces
Try tightening the laces, so the boots stay firmly with your ankle.
Tighten them just on the top of the boots, and the rest may stay the same, so you don’t make the boots uncomfortable.
Some hiking boots come with lace locks right out of the box, but you can find various lace locks online pretty easy. All you need to do is to secure the lock and cut off the extra laces off with the knife you have on you.
You can tighten the laces even without the locks with some handy techniques that will keep the laces tight and secure.
Check this video for the instruction on lace locks, so you get a general idea.
For a simple solution without the need of laces, check this video on how to securely tie the laces for more stability.
3. Try Tongue Pads
From my past experiences, the tongue of the boot can be the most uncomfortable part of the boots. And it can peel off over time and generally lose its fluffiness.
When the tongue becomes flatter, it won’t push your foot to the back of the boot as it did before.
Now, to solve this particular issue, there’s a pretty simple fix. Get a pair of tongue pads and insert them. They are inexpensive, and they can be well hidden in the boots.
The front of your foot will be more comfortable, and the pad will push it to the back resulting in the loss of the heel slippage.
Related Posts:
4. Find the Boots with Non-Slip Insoles
Try to get a pair of boots that have non-slip insoles included and check if they have some kind of lining at the back.
The lining at the back of the inside of the boot can prevent heel slippage since your heels will have more cushion for the support.
The more cushion at the heel area the boot has, the longer it will be slip-free.
But, if you found the perfect pair of boots, and yet they don’t have non-slip insoles or the cushion in the heel area, then take a look at the next simple fix.
5. Give Non-Slip Socks a Go

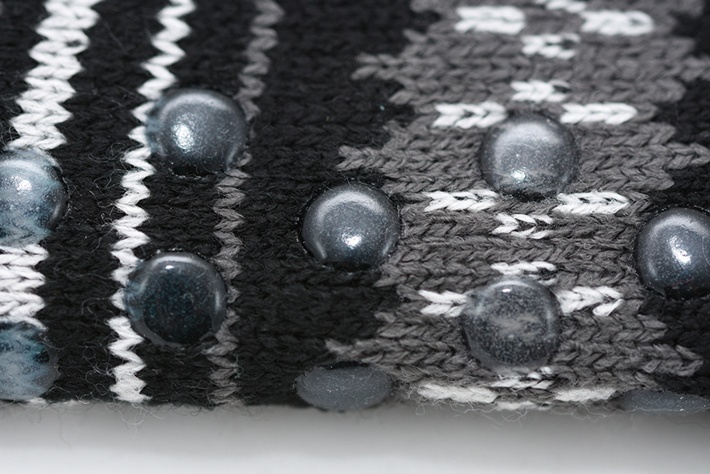
Simple and effective solution! Not in many cases though, but if you feel that not only your heels are slipping, but your soles are also, then grab a pair of non-slip socks and see the difference.
The non-slip socks have a pattern on the bottom that provides a firm grip and reduces the slippage.
They can also reduce the wearing down of the heel lining in the boots, so you can prolong the comfortable use of the boots by a long shot.
They come in various shapes and patterns and are very easy to find, plus they don’t cost much more than the normal socks, so try them and see what happens!
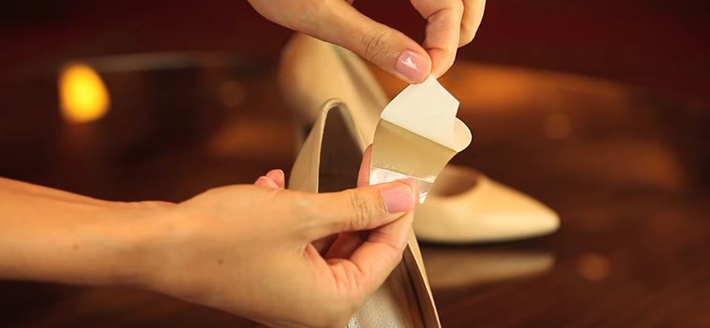
6. Insert Double Sided Tape

Now, I wouldn’t recommend this solution as a permanent one, because it is not. It’s good for a quick fix, but no more than that.
Double-sided tape can stop the heel slippage, but just for a limited time. It can be used as a simple fix until you get a permanent one.
It also will lose its purpose when your feet start sweating, so you will probably need to stick the tape more than once.
Bring a tape just in case in your backpack, it doesn’t take up any space, and it can be handy to give you a least a bit of relief until you get home.
7. Put On One More Pair of Socks
Of course, this solution is for certain seasons only. You won’t be putting two pairs of socks in the middle of May.
But, for the colder seasons, this is a great solution, and your feet will be warmer as well.
One more pair of socks can make up that extra space between your heel and the boot, so the heel and the back of the boot will be closer together, making the slippage less likely to happen. Combine that with lace locks, and you will be steady on the ground as a rock.
8. Try Hairspray
This is a fix that I saw one of my friends was using on high heels.
At first glance, I thought it was weird, but then I started thinking, the spray is sticky, and it’s made to be used on hair.
The socks and the material in the boots are similar to hair so it might just work. And it does, but it’s something that I would use as the last resort, that’s why I also put it in the bottom of the list.
If you don’t have anything else at the reach of your hand, then try it, by all means, but don’t make it a habit.
Putting more layers on your boots can flatten the material inside completely, and it can damage your socks in the long run as well.
Conclusion
Remember to give the boots some time to mold to your feet; I had the experience with some boots that it became so annoying I thought it would never go away.
But just as some little more time has passed, the boots were molded to my feet, and they fitted me perfectly.
Be patient, and if the problem doesn’t go away on its own over time, then give the previous fixes a go.
Also, have in mind that sometimes the slippage can happen only because the feet are wet. Keep yourself and your feet dry, and you shouldn’t experience the slippage.
I hope that this was helpful to all of you outdoor crawlers out there and that you liked my tricks on how to fix heel slippage in boots. Stay dry and stay steady on the ground!


Thank you, Melanie, for these tips! I’ve just purchased some new hiking boots, and the left boot has some heel slippage. I’m going to give them a bit more time before swapping them out. Hopefully breaking them in and doing some locking the laces will do the trick!