When you're out camping, anything can happen to you. The number one rule when you're out in the woods is always to expect the unexpected.
You are out in the open and nature is what controls everything you can or cannot do.
One good example is when you're camping in the woods, and you don't have any source of light or heat.
What's worse is that it just rained and all of the wood around you are all damp and wet. So what are you going to do? How to make a fire when everything is wet? Will you freak out?
Well, you don’t need to because you can still start a fire. In this article, we’re going to tell you how to start a fire with wet wood. This will surely make you better equipped to go out
More...
Things You'll Need for Building a Fire with Wet Wood
1. Small Twigs and Logs
The first things you’re going to need are the most important ones, which are the wood sources. You both need to have small twigs and logs.
This will be what you’ll burn later on. When searching for them, make sure that they’re not too wet or soaked up.
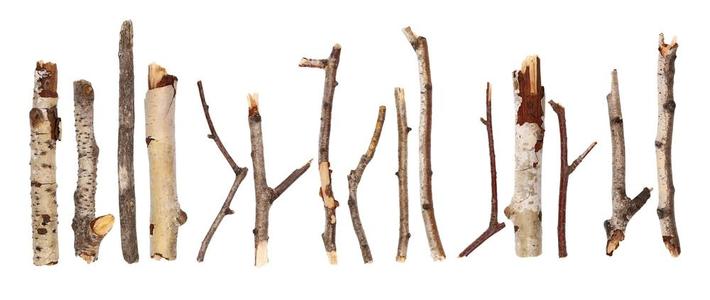
You can get these no-too-wet woods on high branches of trees. You can try snapping them, and if they give off a loud crunching sound, then that's a pretty good sign that they're not too wet.
PRO TIP: When it comes to logs, get those that haven't been lying on the ground for some time. You'll know it by looking at their color. If they are dark, then they're most likely been on the ground for a long time and is most probably wet.
2. Axe
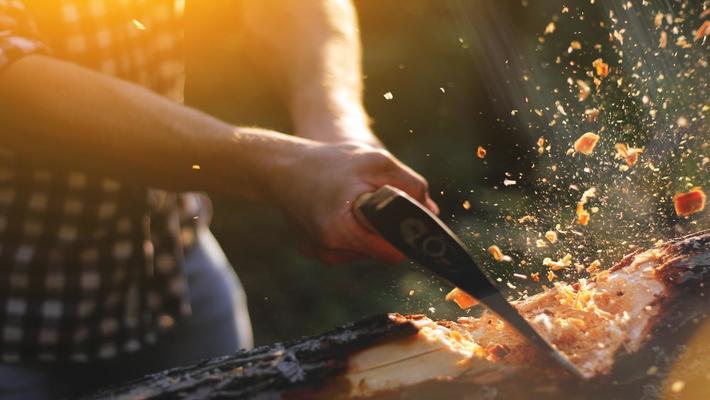
You need to prepare an ax because this is the one that you'll use to slice the log into quarters later on. Make sure that your ax's blade is not dull.
Also, see to it that the handle is comfortable to hold so that your hand won't slide off of it. You want to be safe when using one.
3. Knife
You also need to have a knife, because this is the one you’ll use to shave the logs later when making kindling. It would be better if your knife is not too big so that you can easily put more detail into the shaving process.
Remember that the shape and size of the pieces of kindling will have a big effect on the fire making process later on.
4. Rocks
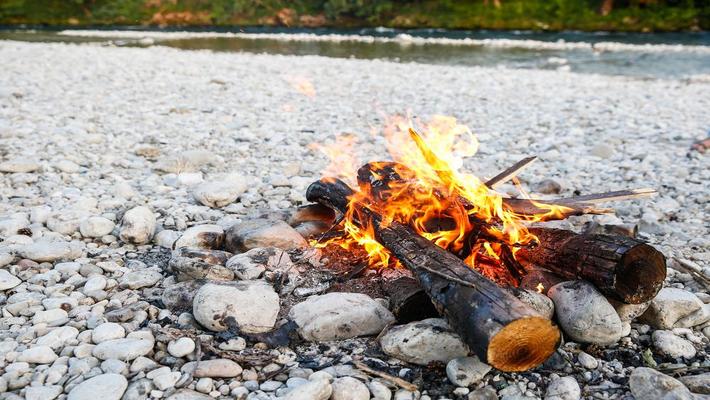
Prepare rocks or any big pieces of stones. This will be used as a platform to elevate the woods. In collecting rocks, make sure that they're not too course or rough so that fire can easily envelop it and burn up the other wood pieces later on.
Step-by-Step Building a Fire from Wet Wood
Step #1: Collect Twigs And Logs
The first thing you need to do is to collect wood. However, in doing so, you need to make sure that you collect the right one.
You want to collect woods of different sizes. Search for small twigs and large logs as well.
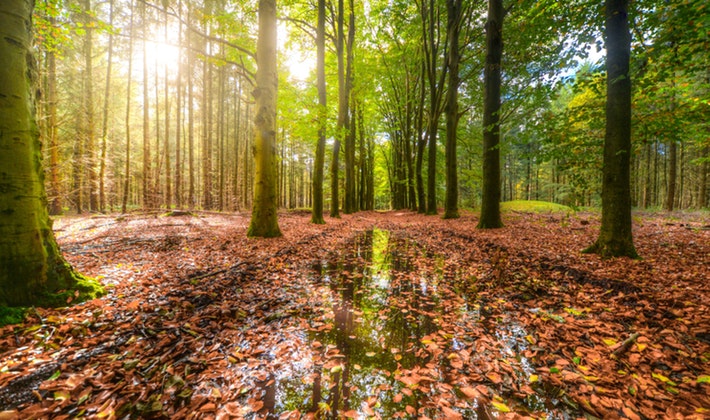
In searching for small twigs, you want those that are already dead. Search for trees that have twigs on them and snap them off.
In searching for a log, make sure that it hasn't been on the ground for too long because these are most likely soaked up.
You also don't want to be in contact with insects that might be inside those fallen logs.
Step #2: Make Dry Kindling
The next thing you want to do is to get your ax or any wood cutting tool. Use this to split the collected log into four parts.
You're going to use the two parts inside. Toss over the other two parts away and keep them. You might need them later on.
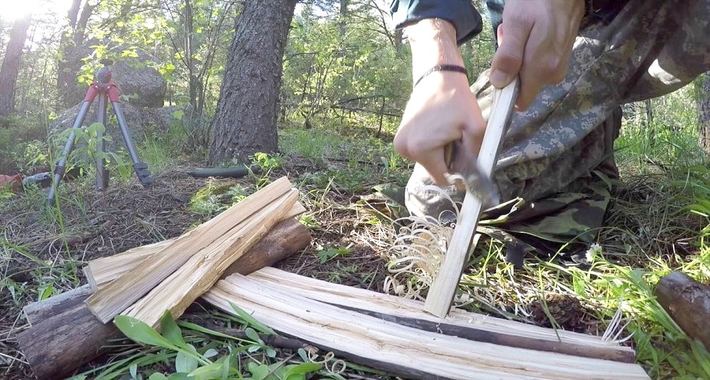
Then use your knife in shaving the dry wood from the two divided parts of the log. Shave it off until it is small enough to be used as kindling.
Get the collected small twigs and snap them into smaller pieces. Lay them near the heap of shaved kindling.
Step #3: Build A Tee Pee Shape Fire
The Tee Pee shape is the most effective way to build a fire because it enables efficient air flow and speeds up the fire lighting process.
In doing so, you need to position the small twigs and branches in a standing position with its edges meeting at the top.
Place the shaved kindling beneath it and place it in the center spot. This is the ideal position to start a fire.
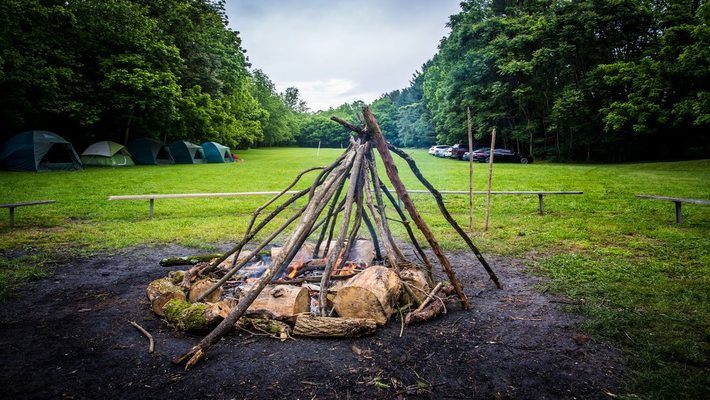
Now that your kindling and small twigs are already ready, you then need to prepare a platform. Create one by using the other logs.
Make sure that you use the two inside parts of it because these are the driest. If you can also find some big rocks, that can also be used instead of the logs.
What you need here is something that will raise the kindling and the small twigs above the ground so that it will be up and out of the damp soil.
Putting it in an elevated position will also enable air flow around it, letting the fire to burn stronger.
Step #4: Light It Up
This is the tricky part of the entire process because it isn't easy to light something up especially if you don't have any lighter or matches.
But if you have one, you simply ignite the fire on the bottom-most part of the Tee Pee-shaped mound. If you don’t have any, then you can use two rocks and hit them with each other.
You can also get a small dry piece of twig and rub it with your two hands until it warms up and ignites its fire.
When the fire has already been ignited, you can then assist it by gently blowing it until the small fire reaches the other twigs.
Step #5: Slowly Add More Wood
By continuously adding more wood to your small fire, you are making sure that it will be lit up the entire night. Just be sure that you don't put them all up at once.
Never overload it with lots of wood because you might end up burning your tent. It’s also recommended to place the other woods near the fire so that it can dry before you place them up later on.
Related Posts:
Step #6: Put The Fire Out
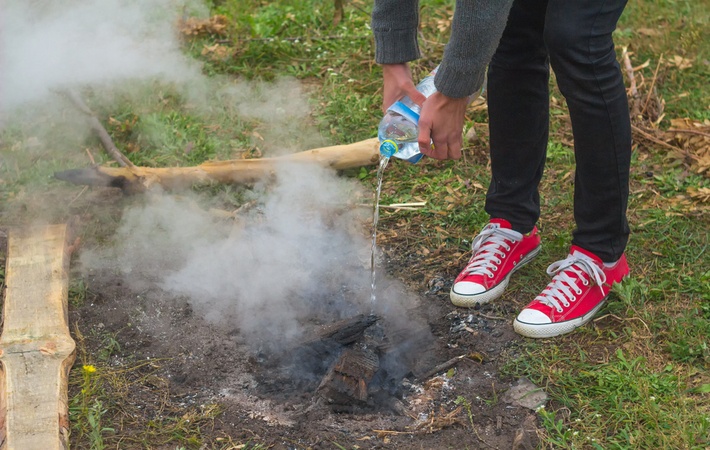
Though this isn't a part of starting a fire with wet wood, it still is very important because your safety and other people's lives depend on this.
When you're done with the fire, it's necessary for you to put it out. You can pour water on it or simply bury it in sand or dirt.
To make it easier for you to understand, you can check out this video to personally see it:
Conclusion
With all of these being said, you can see that it's not impossible to start a fire with wet wood because in the first place, wet wood is not entirely "wet".
The inside part of wood is still dry because it is protected by several layers. It's all just a matter of technical know-how and ingenuity that you can conquer the odds that nature has put upon you.
By simply preparing the things here before you go camping, and making sure that you instilled within your mind the suggested steps, there's no doubt you'll be making fire even if your surroundings are soaking wet.
Hopefully, you’ve liked the article because this will surely save your life if worse comes to worse.
Remember, light is very important when you’re out in the woods. It protects you from wild animals and at the same time enables you to see your surroundings.
Because of the big help, this article can give you, you can also share this with your family and friends. You can also freely share your thoughts by writing in the comment section below. We would love to hear from you.

I’m pleased that I seen this website, precisely the proper information that I was trying to find! gbecckkeeake
Hey very nice site!! Man .. Beautiful .. Amazing .. I will bookmark your blog and take the feeds alsoI am happy to find a lot of useful info here in the post, we need work out more techniques in this regard, thanks for sharing. . . . . .
I went over this site and I conceive you have a lot of wonderful information, bookmarked .